Introduction:
While I haven’t been posting much new in the last eight years I have continually paid for hosting. Fed up with the cost of my hosting provider I decided to simply host this site locally. Additionally I thought it would be a neat project to try and get a site running on one of the spare Raspberry Pi’s (rpi) I have lying around. It should hold up fine for a lightly viewed, static WordPress blog. Here is how I created my Raspberry Pi Web Host.
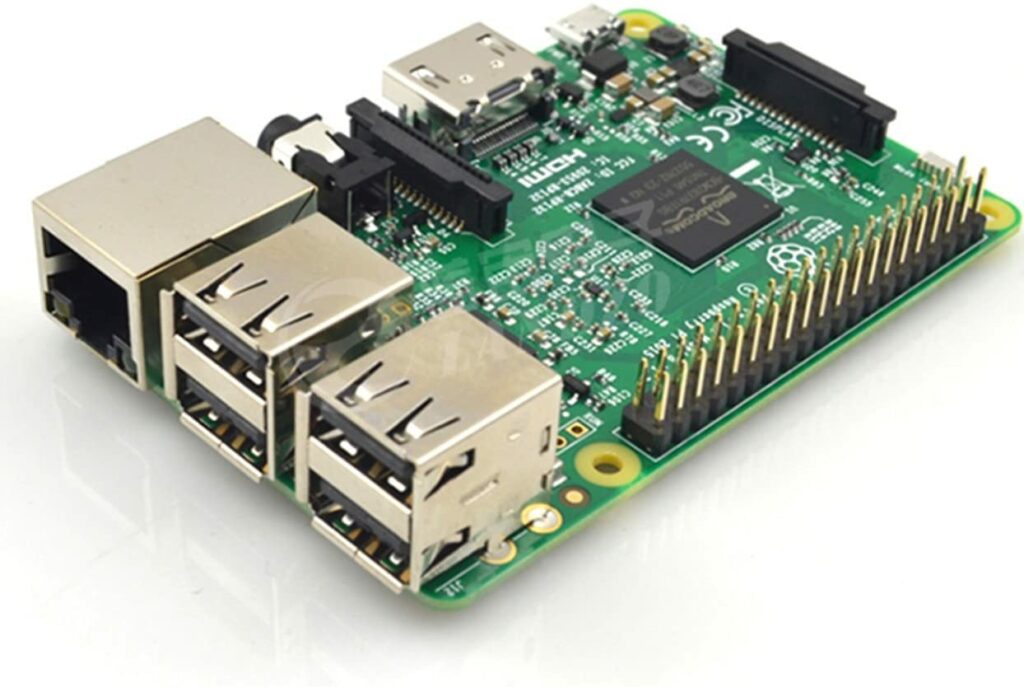
Components:
- Just a Raspberry Pi 3 Model B with case and power.
My process:
Step 1: Register/transfer host name
I had previously used 1&1 for my host name and hosting services, but no longer a fan of theirs I decided to transfer my host name to Google Domains (https://domains.google.com). Nicer interface, additional features, very happy with the switch. Transferring will be generally the same no matter who your provider is.
- Unlock domain
- Request an authorization code to transfer
- Initiate the transfer from Google Domains
- The transfer can take a few days, giving you plenty of time to finish off the rest of the steps
Step 2: Setup microSD card with Raspbian
- Download Raspbian Stretch Lite image from https://www.raspberrypi.org/downloads/raspbian/
- Using Etcher write image to micro SD card
Step 3: Setup rpi
- Change default password
- passwd
- Get updates
- sudo apt-get update
- sudo apt-get upgrade
Step 4: Setup remote access
Setup and maintenance is much easier to do remotely.
- Enable SSH
- sudo raspi-config
- Select “5 Interfacing Options”
- Select “P2 SSH”
- When prompted “Would you like the SSH server to be enabled?”, select “Yes”
- Setup SSH keys for passwordless access
- cd ~/.ssh
- ssh-keygen rsa-2048
- cp id_rsa.pub authorized_keys
- chmod 400 authorized_keys
- Move id_rsa to system you intend to access rpi from
Step 5: Install packages
- sudo apt install php7
- sudo apt install mysql
- sudo apt install lighttpd
- sudo apt install ddclient
Step 6: Setup MySQL
- sudo mysql -uroot -pass
- create database wordpress;
- GRANT ALL PRIVILEGES ON wordpress.* TO ‘root’@’localhost’ IDENTIFIED BY ‘PASSWORD’; FLUSH PRIVILEGES;
Step 7: Setup lighttpd
For basic setup, not much needs to be done to setup lighttpd.
- sudo nano /etc/lighttpd/lighttpd.conf
- Add the following to the end of the file
url.rewrite = (
        "^/(.*)\.(.+)$" => "$0",
        "^/(wp-admin|wp-includes|wp-content|gallery2)/(.*)" => "$0",
        "^/(.+)/?$" => "/index.php/$1"
)
Step 8: Install WordPress
- cd /var/www/html
- sudo wget https://wordpress.org/latest.tar.gz
- sudo tar xvzf latest.tar.gz
- sudo mv wordpress/* .
- In web browser go to http://localhost
- Fill out all fields
Step 9: Setup router port forwarding to allow traffic to server
These steps are for the basic OpenWrt setup I have, YMMV, check your router documentation.
- Open router homepage
- From top menu under Network menu select Firewall
- From tabs under top menu select Port Forwards
- In New port forward section enter
- Name: http
- Protocol: TCP+UDP
- External zone: wan
- External port: 80
- Internal zone: lan
- Internal IP address: <internal IP address of rpi host>
- Internal port: 80
- Click Add
- Click Save and Apply
Step 10: Setup Dynamic DNS
At this point the outside world should be able to access to your rpi server, but unless you have a static IP address through your ISP, your external IP may change at any time. The solution to that is Dynamic DNS, your server will update the Dynamic DNS provider when it detects your IP address has changed. Google Domains provides Dynamic DNS, which made it even more of a no-brainer to switch to them for my domain name registrar.
- From Google Domains site, click on your domain to go to the domain overview page.
- Click on the DNS link on the left hand menu
- Scroll down to Synthetic records
- Select Dynamic DNS from the pulldown menu
- In text entry box, enter the at symbol “@” (ex: @.timcaserza.com)
- Click Add
- New Entry under Synthetic records should appear with your domain name
- Expand Dynamic DNS information for your domain by clicking the arrow next to your domain name
- Click View credentials
- Copy user name and password for next step
- Keep this page open for verification
Step 11: Setup ddclient
Now we need to setup ddclient, the service that will update Google Domains when it detects your IP address has changed.
- sudo nano /etc/ddclient.conf
use=web, web=checkip.dyndns.org/

ssl=no
protocol=googledomains
login=<username from previous step>
password='<password from previous step>'
<your domain name>
daemon=300- sudo ddclient -daemon=0 -debug -verbose -noquiet
- Verify on Google Domains that your systems external IP address appears under Data in the Dynamic DNS record
Step 12: Get blogging
At this point you should be able to go to yoursite.com/wp-admin and login using the credentials created in step 8. From there customize and post away.
Performance:
After making modifications to boost speed including caching, compressing, and lazy loading the site has good scores from the site analyzer on http://gtmetrix.com.

The numbers from the stress testing service on http://loadimpact.com aren’t too shabby considering its size.
The average response time of the system being tested was 121ms, and 7409 requests were made at an average request rate of 42 requests/second.
Of course this only simulates 25 concurrent users, it would choke if a post went viral, but I don’t foresee that ever happening.
Conclusion:
This was a fun project that took a few hours to setup and a few more to fine tune. We shall see how it holds up over time, but so far so good. I’m very glad I took the plunge and dropped my hosting provider to self-host.
Links:
Check out my other coding projects here.
| | /* Grid style */ .display-posts-listing.grid { display: grid; grid-gap: 16px; } .display-posts-listing.grid .title { display: block; } .display-posts-listing.grid img { display: block; max-width: 100%; height: auto; } @media (min-width: 600px) { .display-posts-listing.grid { grid-template-columns: repeat(2,1fr);} } @media (min-width: 1024px) { .display-posts-listing.grid { grid-template-columns: repeat(3,1fr);} } | | /* Grid style */ .display-posts-listing.grid { display: grid; grid-gap: 16px; } .display-posts-listing.grid .title { display: block; } .display-posts-listing.grid img { display: block; max-width: 100%; height: auto; } @media (min-width: 600px) { .display-posts-listing.grid { grid-template-columns: repeat(2, 1fr);} } @media (min-width: 1024px) { .display-posts-listing.grid { grid-template-columns: repeat(3, 1fr);} } | |
[display-posts image_size=”medium” wrapper=”div” wrapper_class=”display-posts-listing grid” meta_key=”_thumbnail_id”]
| | /* Grid style */ .display-posts-listing.grid { display: grid; grid-gap: 16px; } .display-posts-listing.grid .title { display: block; } .display-posts-listing.grid img { display: block; max-width: 100%; height: auto; } @media (min-width: 600px) { .display-posts-listing.grid { grid-template-columns: repeat(2,1fr);} } @media (min-width: 1024px) { .display-posts-listing.grid { grid-template-columns: repeat(3,1fr);} } | |
[display-posts image_size=”medium” wrapper=”div” wrapper_class=”display-posts-listing grid” meta_key=”_thumbnail_id” posts_per_page=”9″]
| |
[display-posts image_size=”medium” wrapper=”div” wrapper_class=”display-posts-listing grid” meta_key=”_thumbnail_id” posts_per_page=”9″]